Hello at last,
I have just realised that it has been ages since I blogged, so I have three cards to show you today. I am having a wonderful day to myself, I got up early, did the housework and have got the rest of the day to make cards.... prepping for workshops and making samples. It is going well so far...!
I am sure you will know by now that I like doing inky backgrounds, but the results can be quite random sometimes. I have just discovered a way of getting some control, this is not my idea, I saw it on an online course I have subscribed to. I am sure many of you will already know about this, but it was new to me. All the cards below are made using this technique.
At Christmas, I was having lunch with my Aunt and she had some lovely serviettes, with a wonderful colour combination, so I nicked one to keep for inspiration.
The colours of ink I've used here are Iced Spruce and Dusty Concord, both Distress Inks. The stamps are from the
Snowglobe Outline set
So on with the card..
Start by stamping the snowglobe with a black archival or some sort of permanent ink.
Mask to cover the snowglobe
squish the Iced Spruce ink on a piece of acetate, spritz lightly with water, then you can pick up the acetate and place the ink where you want it to go. It still gives a random effect, but you have much more control over where it goes. Good eh!! You can add as much or little as you like.
Once you have enough Iced Spruce, repeat the process with Dusty Concord.
Allow to dry, then do some stamping, I added a few little snowflakes from the set of stamps which comes with the snowglobe , I also added a few circles, by inking the base of a lid and applying to the card. When you are happy, remove the mask and replace with the opposite mask, so now you have covered the background and exposed the snowglobe.
I used the same colours to make my little scene and black archival to stamp the images.
Paint the base with Dusty Concord.
The Christmas words come from
Jayne's Postcard Framer set
This card was done in the same way, using the same colour inks
Stamps used:
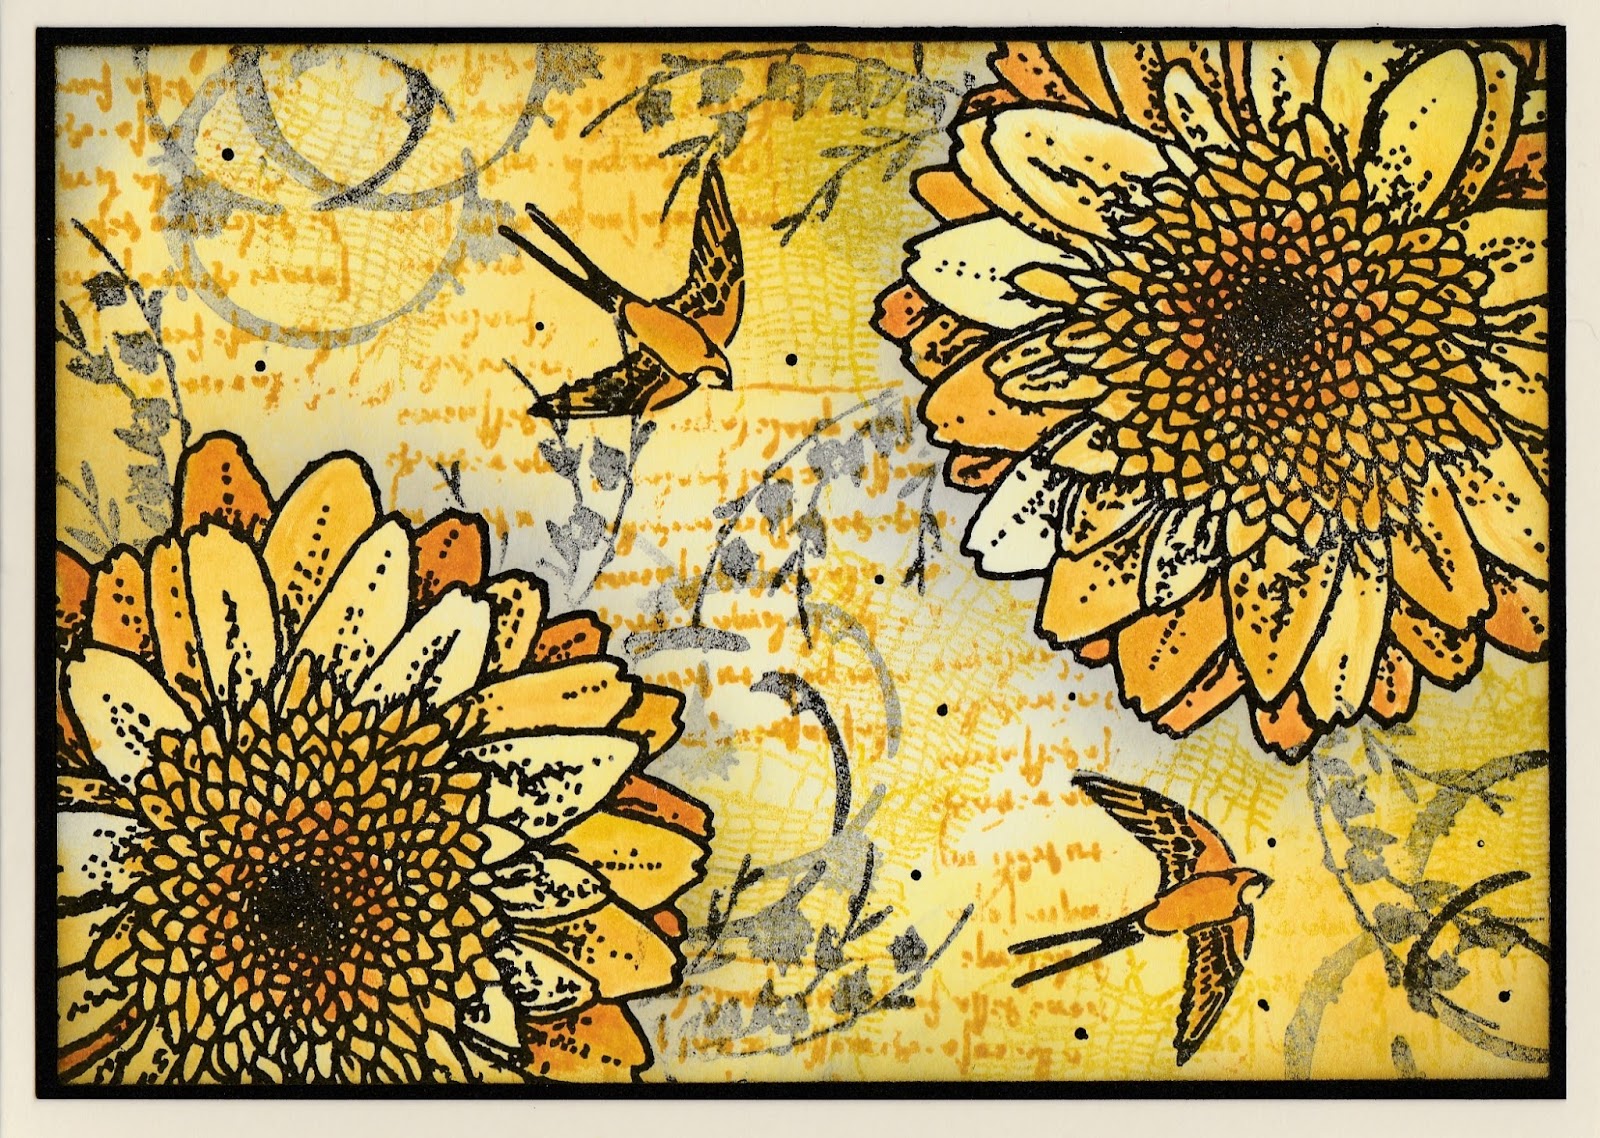
Journalling set
Gerbera and Butterfly set
...and again, this time with the
Chrysanthemum and Butterfly set and the Journalling set
.
Thanks for visiting, I won't leave it so long before I blog again..
Janet xxx